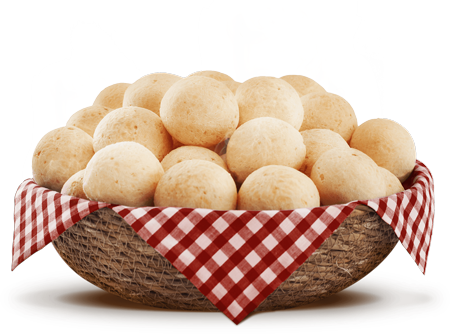
Few things are more satisfying than biting into a warm pão de queijo that’s crispy on the outside and soft, cheesy, and chewy on the inside.
While baking Brazilian cheese bread is incredibly easy, a few simple tips can make the difference between good pão de queijo and great pão de queijo.
Whether you’re preparing Mary & Bella Cheese Bread for breakfast, a coffee break, a party, or unexpected guests, here’s everything you need to know to achieve perfect results every time.
Why Pão de Queijo Is So Easy to Prepare
One of the reasons pão de queijo is loved by so many people is its convenience.
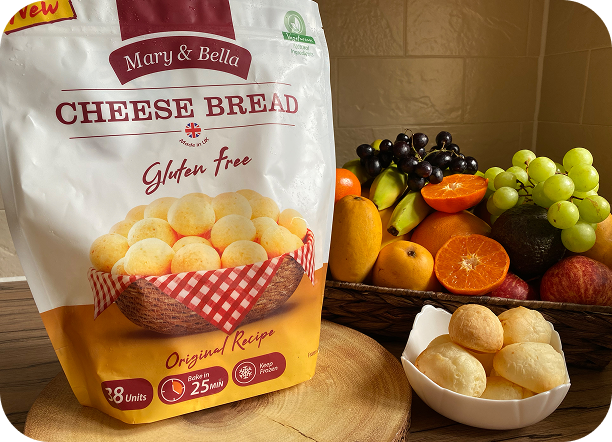
Unlike many baked snacks, Mary & Bella Cheese Bread comes frozen and is designed to go straight from the freezer to the oven. There’s no need to defrost, mix ingredients, or spend time preparing dough.
Simply bake and enjoy.
But before you switch on the oven, here are a few important tips.
Step 1: Don’t Defrost the Pão de Queijo
This is one of the most common mistakes.
Pão de queijo should go directly from the freezer into the oven.
Allowing it to thaw beforehand can affect its texture and prevent it from baking properly.
For the best results, keep the product frozen until you’re ready to bake.
Step 2: Always Preheat the Oven
Patience pays off.
Before placing your pão de queijo in the oven, make sure it has reached the correct temperature.
For Mary & Bella Cheese Bread, the recommended temperatures are:
Electric oven: 180°C
Fan oven: 160°C
Gas mark: 4
Starting with a properly heated oven helps the cheese bread rise evenly and develop its characteristic golden exterior.
Step 3: Give Them Space to Grow
Pão de queijo expands while baking.
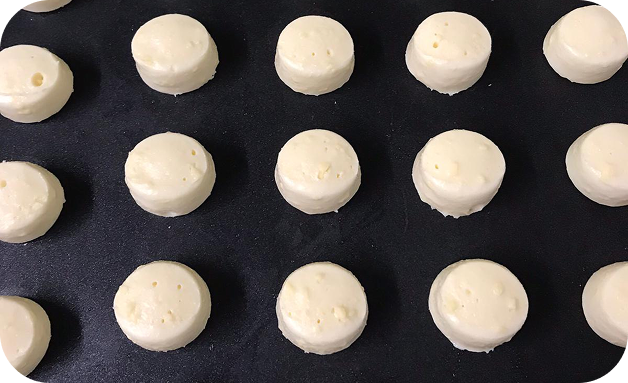
Place the frozen cheese breads on a clean baking tray, leaving approximately 2–3 cm between each piece.
This allows hot air to circulate properly and helps them bake evenly.
If you want easier clean-up, you can line the tray with baking paper or use a silicone baking mat.
Avoid aluminium foil whenever possible, as the cheese bread may stick to the surface and damage its crispy crust when removed.
Step 4: Resist the Urge to Open the Oven
We know it’s tempting.
The smell of freshly baking pão de queijo can make anyone curious to see how they’re doing.
However, opening the oven door repeatedly allows heat to escape and can affect the baking process.
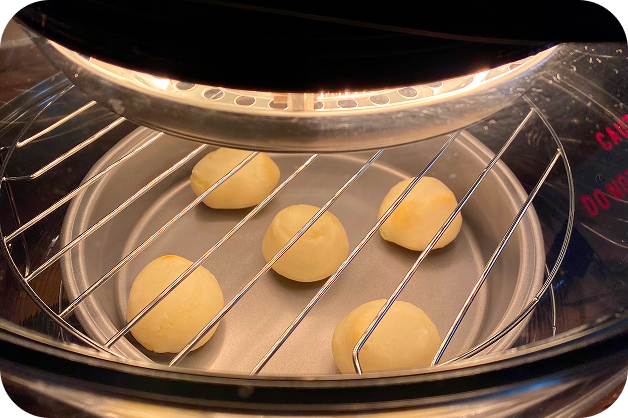
Instead, use the oven light or look through the glass door whenever possible.
Your pão de queijo will thank you.
Step 5: Wait Until They’re Golden
Timing is important, but appearance is even more important.
Mary & Bella Cheese Bread typically takes around 25 minutes to bake, depending on your oven.
Rather than relying only on the clock, look for a light golden colour on the outside.
That’s usually the sign that the exterior has become crispy while the interior remains perfectly soft and cheesy.
Step 6: Don’t Use the Microwave
If you’re hoping for crispy, bakery-style pão de queijo, the microwave isn’t your friend.
Microwaving can make the texture rubbery and prevent the crust from developing properly.
The oven—or air fryer—is always the best option.
Air Fryer Instructions
Want your pão de queijo even faster?
The air fryer is a fantastic alternative.
For best results:
Preheat the air fryer to 180°C for approximately 5 minutes.
Place the frozen cheese breads in the basket, leaving a little space between them.
Bake for 10–15 minutes.
Shake the basket halfway through cooking to help them brown evenly.
The result is beautifully golden cheese bread with a crispy exterior and soft centre.
Common Mistakes to Avoid
To recap, here are the biggest mistakes people make when baking pão de queijo:
❌ Defrosting before baking
❌ Putting them into a cold oven
❌ Overcrowding the baking tray
❌ Opening the oven repeatedly
❌ Removing them too early
❌ Using the microwave instead of the oven or air fryer
Avoid these mistakes and you’ll enjoy consistently delicious results.
Ready to Enjoy your Pão de Queijo
The beauty of pão de queijo is that it doesn’t require complicated preparation.
A few simple steps are all it takes to transform frozen cheese bread into a warm, comforting snack that everyone loves.
Serve it for breakfast, as an afternoon treat, at parties, picnics, or alongside your favourite fillings and toppings.
And if you’re looking for inspiration, don’t forget to check out our guide to delicious ways to enjoy pão de queijo. Happy baking!